

 www.wood-saw.com
 Introduction: Building a DIY Planer Machine Want to flatten and smooth your woodworking projects without breaking the bank on a professional planer? Building your own DIY planer machine can be a rewarding project, offering significant cost savings and the satisfaction of creating your own tools. This guide will walk you through the process step-by-step. Be prepared for a time commitment and the need for basic woodworking and mechanical skills. Safety is paramount; always wear appropriate safety gear and follow all safety guidelines for power tools.
Materials and Tools Before you start, gather all the necessary materials and tools. This list might vary slightly depending on your specific design choices, but it provides a solid foundation: Materials: Sturdy plywood sheets (various thicknesses, typically 3/4" and 1/2") for the frame and bed. Hardwood strips for the bed runners and edge supports (e.g., maple, oak). Threaded rods (typically 1/2" or 3/8") for height adjustment. Nuts and washers compatible with the threaded rods. Bearings (pillow block bearings or similar) to support the threaded rods. A powerful router (ideally a plunge router). Router bits (a flattening bit is essential; consider a surfacing bit for wider cuts). Wood screws of various lengths. Wood glue. Sandpaper (various grits). Finish (e.g., polyurethane, varnish). Tools: Table saw (for accurate cuts). Miter saw (for angled cuts). Drill/Driver. Router table (optional, but highly recommended for controlled routing). Wrenches (for tightening nuts). Clamps. Measuring tape/ruler. Square. Safety glasses. Hearing protection. Dust mask/respirator.
Step 1: Designing the Frame The frame is the foundation of your planer. It needs to be robust and stable to support the weight of the router and workpiece. Plan your dimensions based on the largest workpiece you anticipate planing. Cut the plywood pieces for the base, sides, and top of the frame. Consider using 3/4" plywood for the frame for added strength. Assemble the frame using wood glue and screws. Ensure all corners are square and the frame is sturdy. Reinforce the corners with additional wood blocks if necessary. Add supports to the top of the frame to provide a stable platform for the router mounting mechanism.
Step 2: Building the Adjustable Bed The adjustable bed allows you to control the thickness of the material being planed. Cut the plywood for the bed. Typically 1/2" plywood is sufficient for the bed itself. Attach hardwood runners to the underside of the bed. These runners will slide along the frame's rails, ensuring smooth movement. Install threaded rods and bearings. The threaded rods will be used to raise and lower the bed. Mount the bearings on the frame to support the threaded rods. Attach nuts to the bed that will engage with the threaded rods. This is what enables the up and down movement. Test the bed's movement to ensure it raises and lowers smoothly without binding.
Step 3: Mounting the Router This is a critical step. A secure and stable router mount is essential for accurate planing. Create a mounting plate for the router. This plate should be made from sturdy plywood or hardwood. Attach the router to the mounting plate. Some routers have pre-drilled holes that can be used for mounting; otherwise, you may need to drill new holes. Design a carriage system to allow the router to move smoothly across the width of the bed. This can be as simple as rails and supports made from hardwood. Linear bearings can also be used for a smoother, more precise movement. Attach the router carriage to the frame ensuring it can move freely from one end of the bed to the other.
Step 4: Calibration and Testing Once everything is assembled, it's time to calibrate and test your planer. Ensure the router bit is parallel to the bed. This is crucial for even planing. Use shims or adjustments to achieve parallelism. Make test cuts on scrap wood. Start with a shallow cut and gradually increase the depth. Check the surface for evenness. Adjust the router bit and bed height as needed until you achieve the desired results. Sand the bed and apply a finish to reduce friction and protect the wood.
Conclusion: Refining Your DIY Planer Building a DIY planer is a challenging but rewarding project. Your initial build might require adjustments and refinements. Consider adding features like dust collection ports to minimize mess. Explore different router bits for various planing tasks. With careful construction and calibration, your DIY planer can provide years of service and significantly improve your woodworking capabilities. Remember to always prioritize safety and consult online resources for additional guidance and design ideas. Enjoy your new tool!
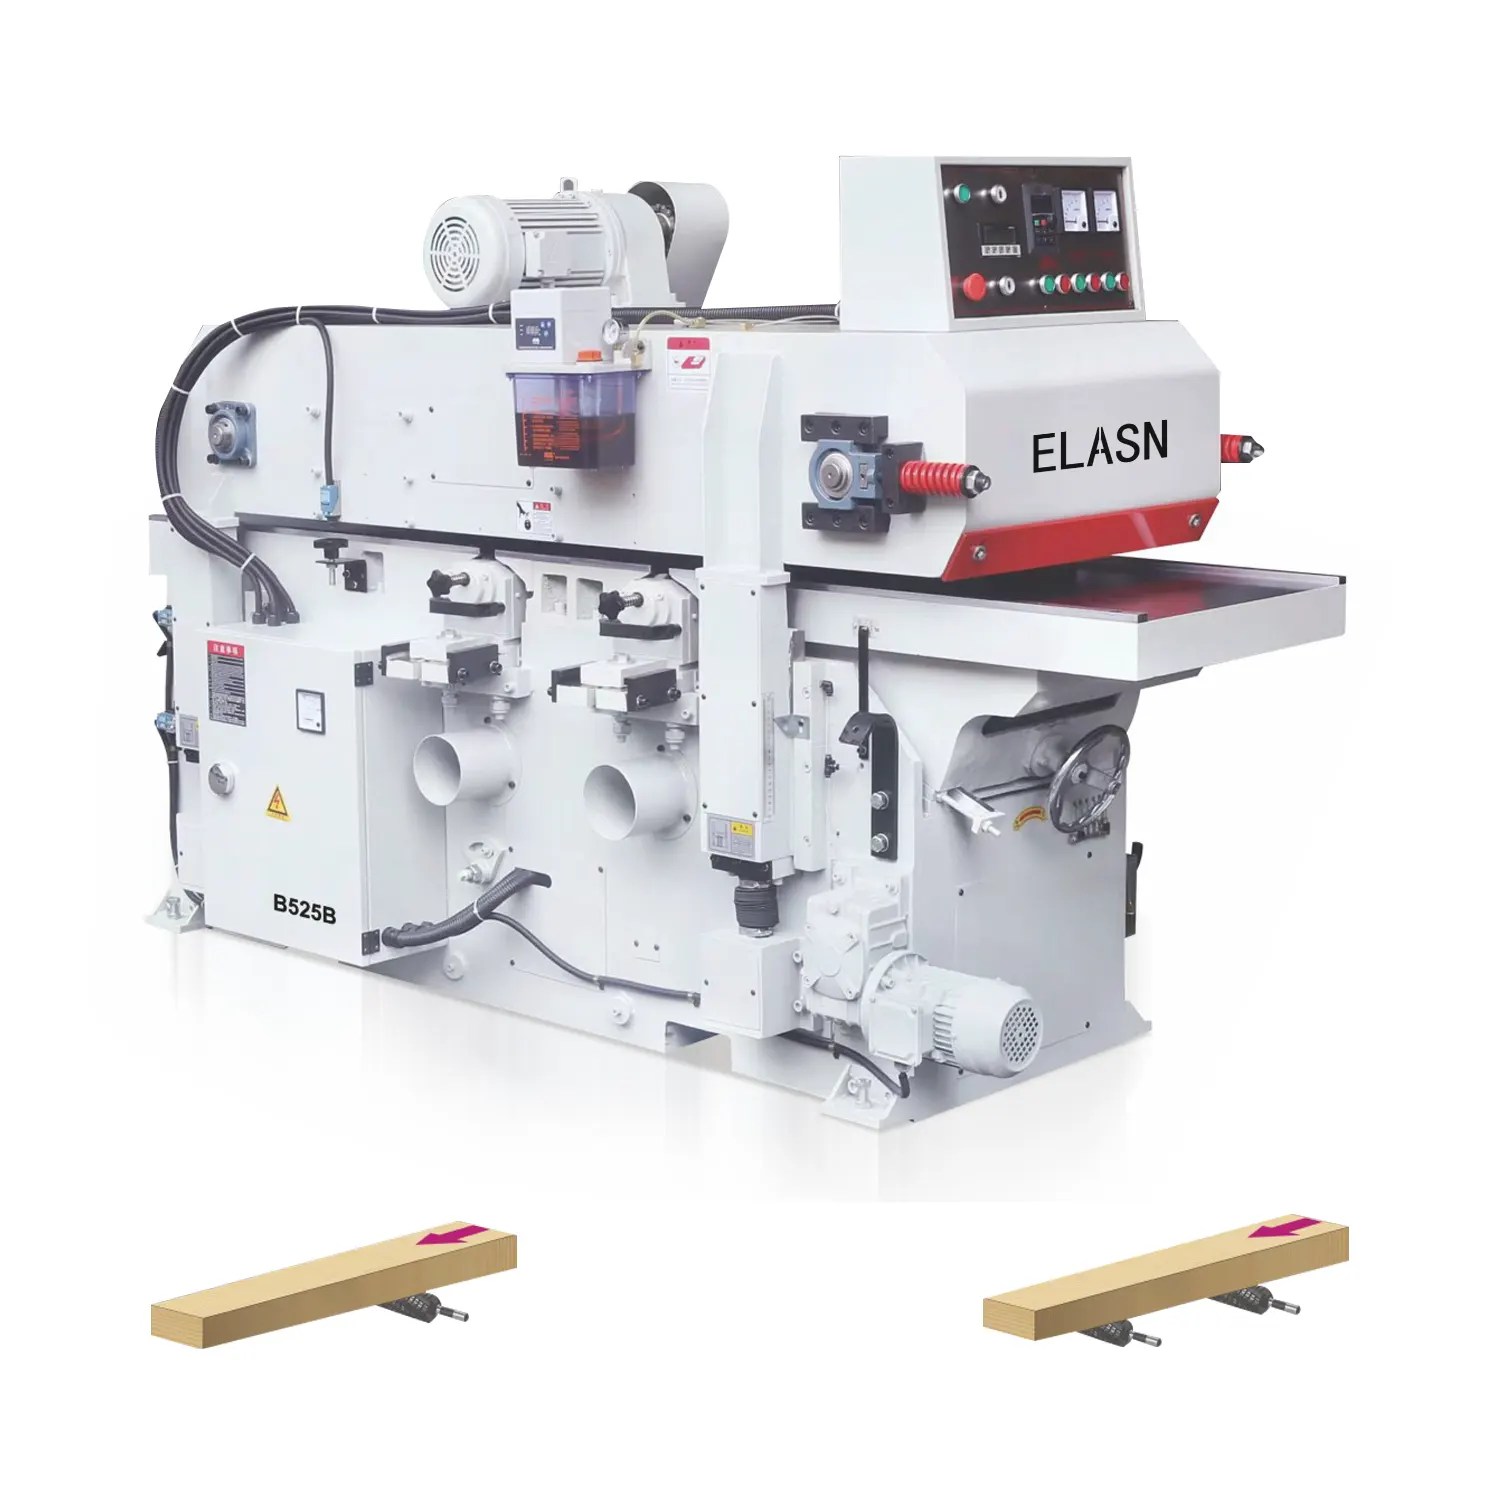
Woodworking Surface Planer Machine
 www.wood-saw.com
 Woodworking Planer Machine
www.wood-saw.com Woodworking Planer Machine
 www.wood-saw.com


0 komentar:
Posting Komentar